Electroplating
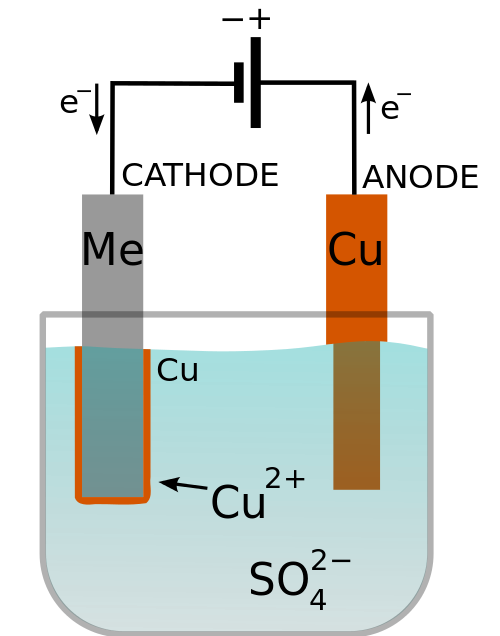
As defined by Wikipedia, electroplating is "[a] process in which metal ions in a solution are moved by an electric field to coat an electrode." All it takes to electroplate is a power supply and an ionic bath. Connect the positive terminal to the metallic piece to be deposited - this is the anode, and the negative terminal to the piece to be plated - this is the cathode.
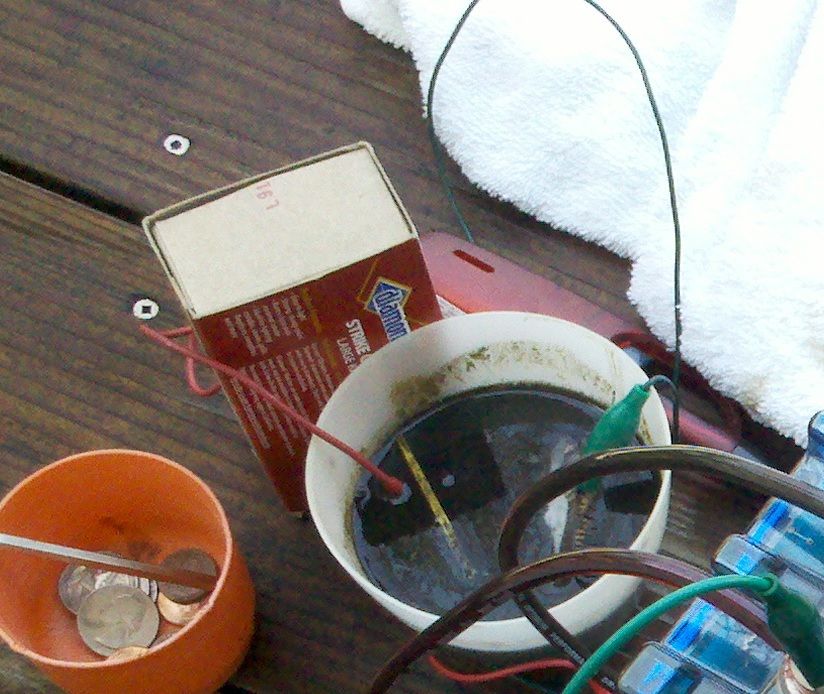
I began my experiment by making a sodium chloride solution - table salt and water. I used a steel hex wrench as the anode and a penny as the cathode. Both pieces of metal were suspended in the salt bath with precariously balanced alligator clips. My power supply is rated to supply four amps continuously. I turned the power supply on and bubbles started to stream from the cathode. After some time had passed, the bath began to darken. I removed the cathode to see a layer of dark slime; when I wiped it away, a thin layer of copper/zinc was revealed.
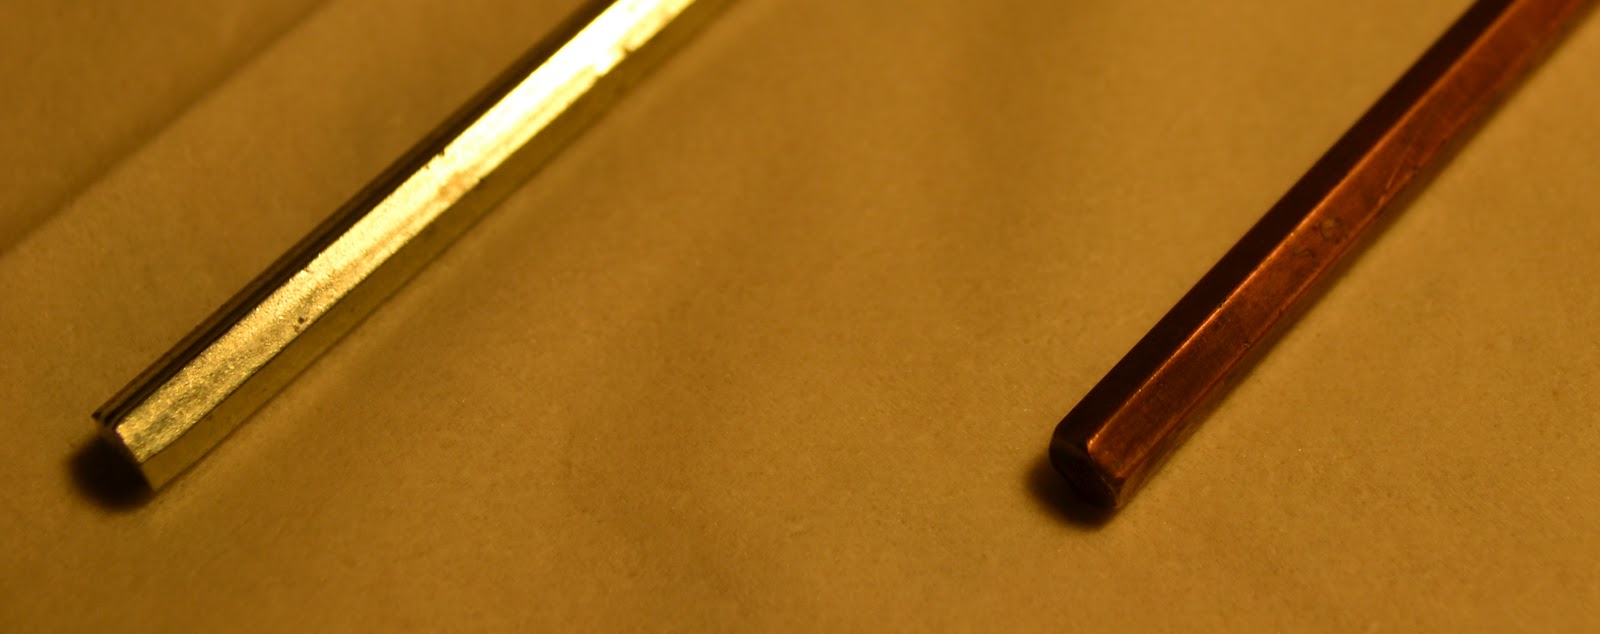
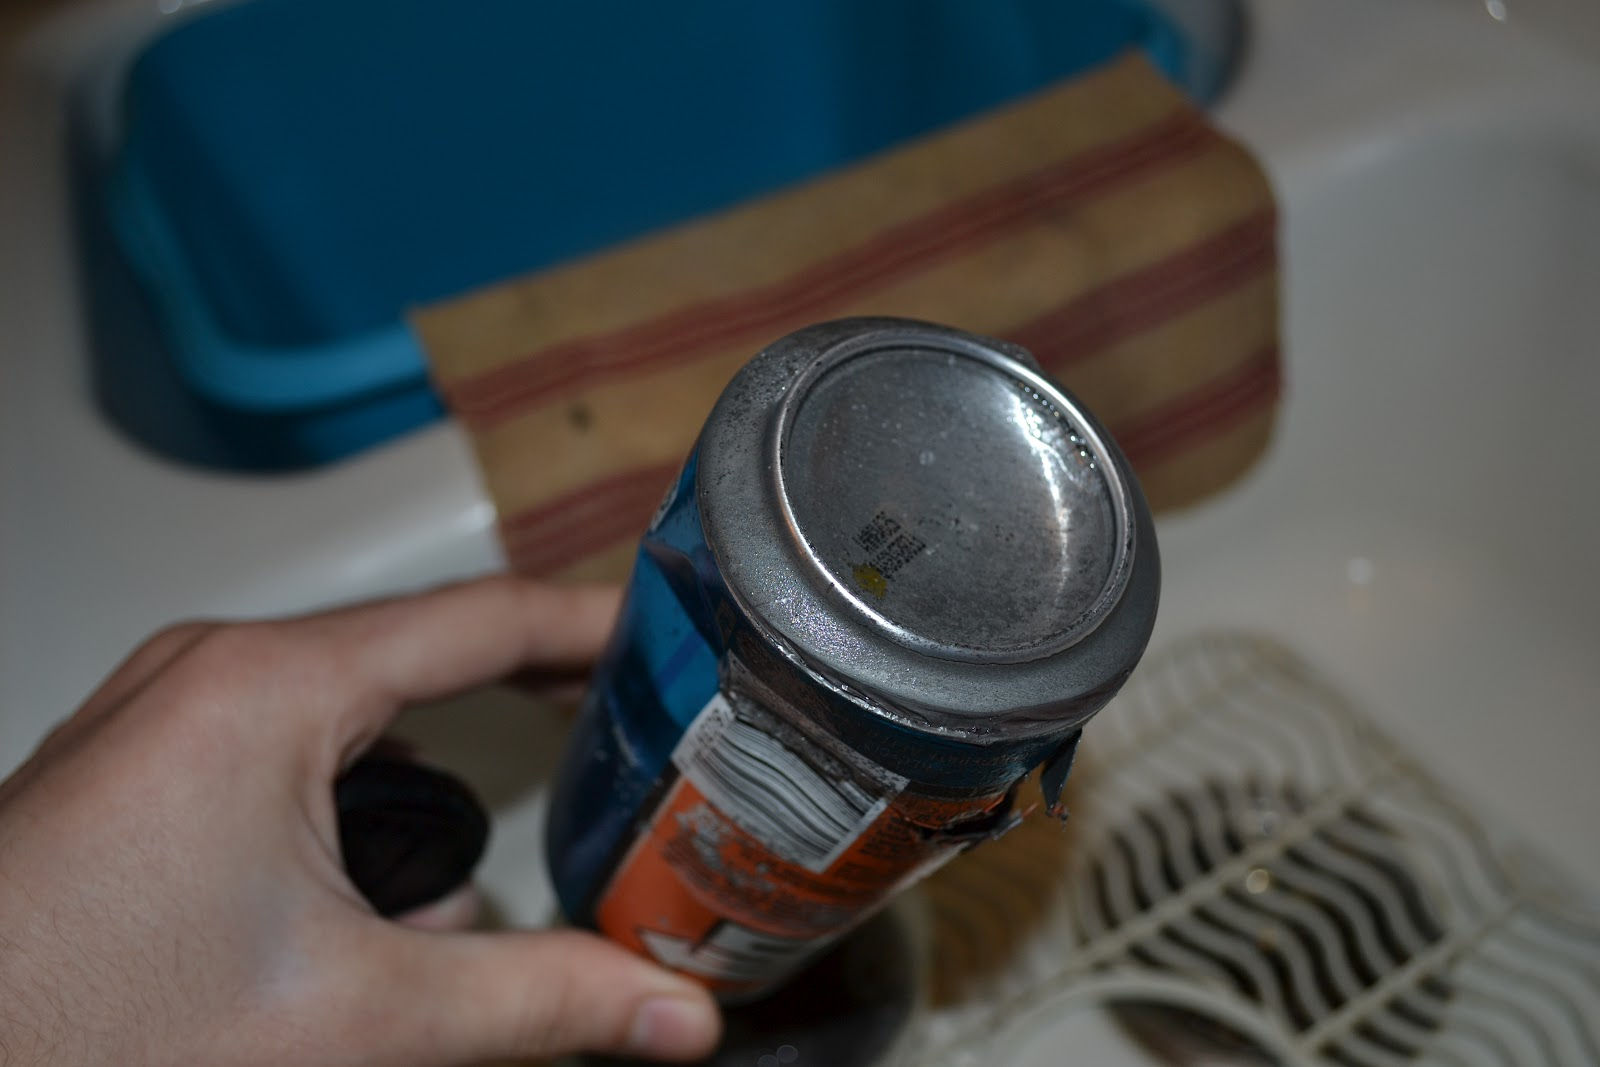
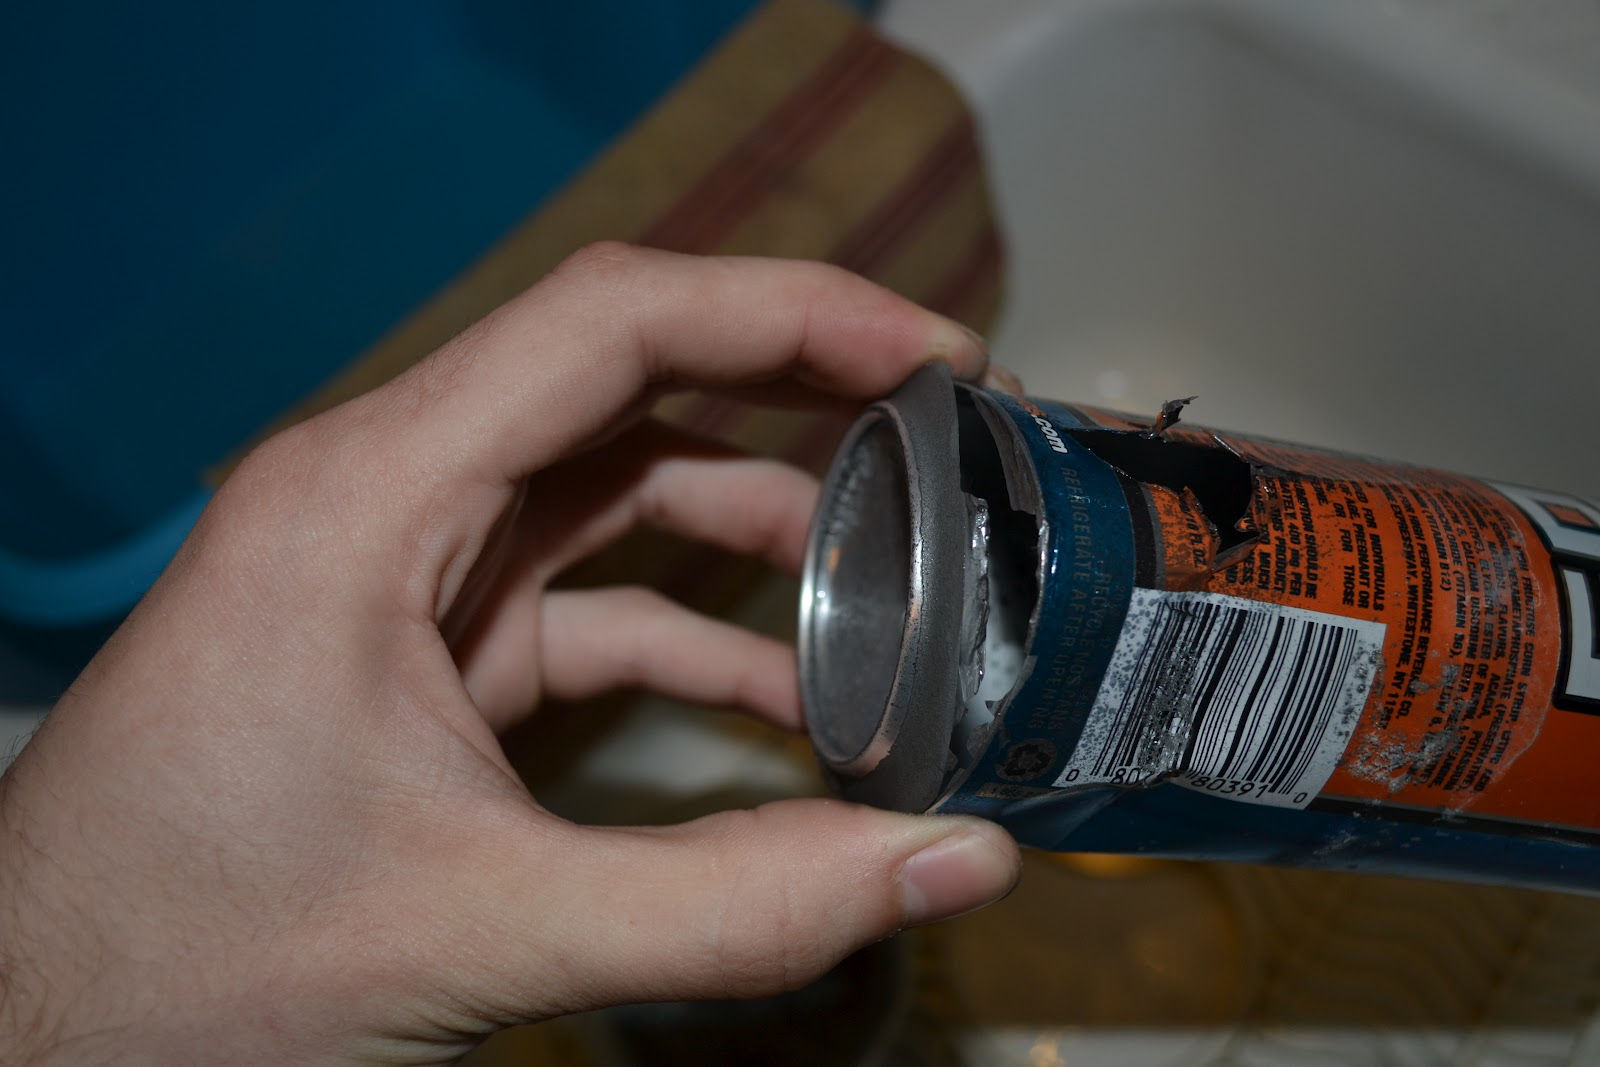
Next, I tried using an aluminum can as the cathode. Due to the large exposed area, this drew a lot of current and warmed the solution. This time, the solution darkened even more quickly.
You can see how thin the aluminum on the exposed edge became.
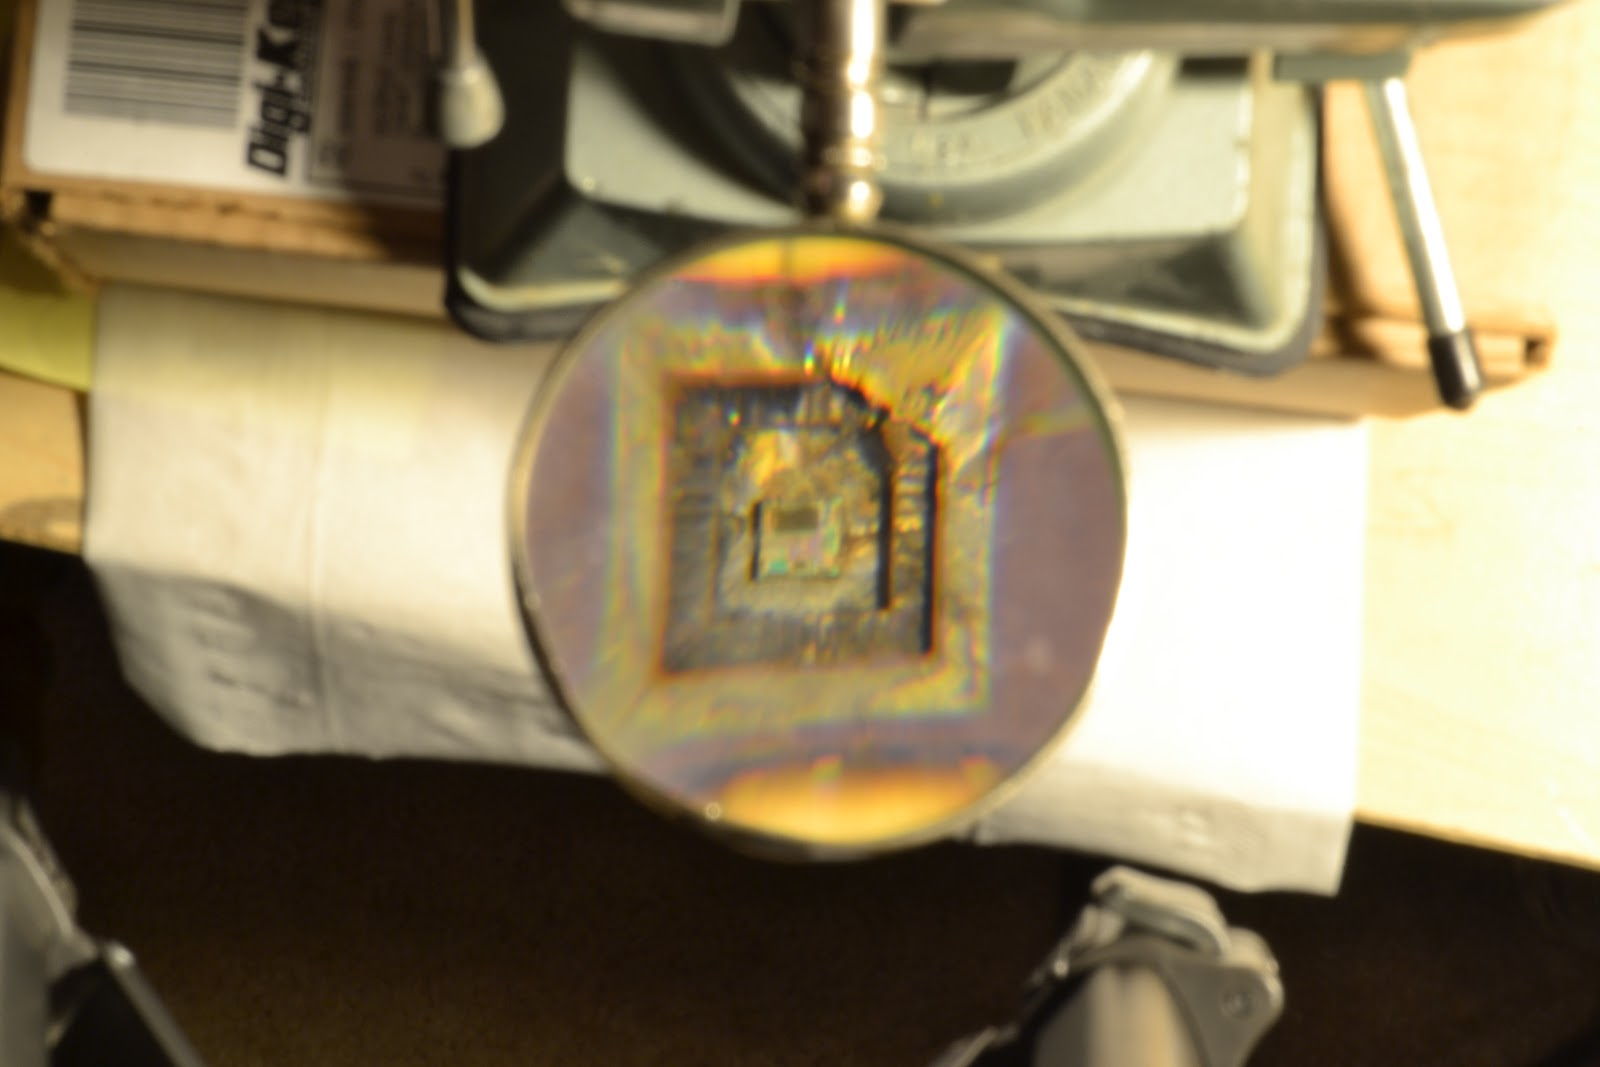
My next target was a metal capped PIC microprocessor. On a whim, I decided to use a new ionic bath. I opted to start with a hydrochloric acid base - vinegar. No additives were necessary; when the electroplating process was started, the anode would be ionized, giving rise to an ionic bath.
Twenty minutes after beginning the process, the chip slipped away from its clip. Curious, I turned the power supply off and inspected the setup. To my dismay, the alligator clip holding the chip had been electrolyzed! A sad turn of events - but it was worth it! The cover of the microprocessor was removed with no damage to the silicon core inside.

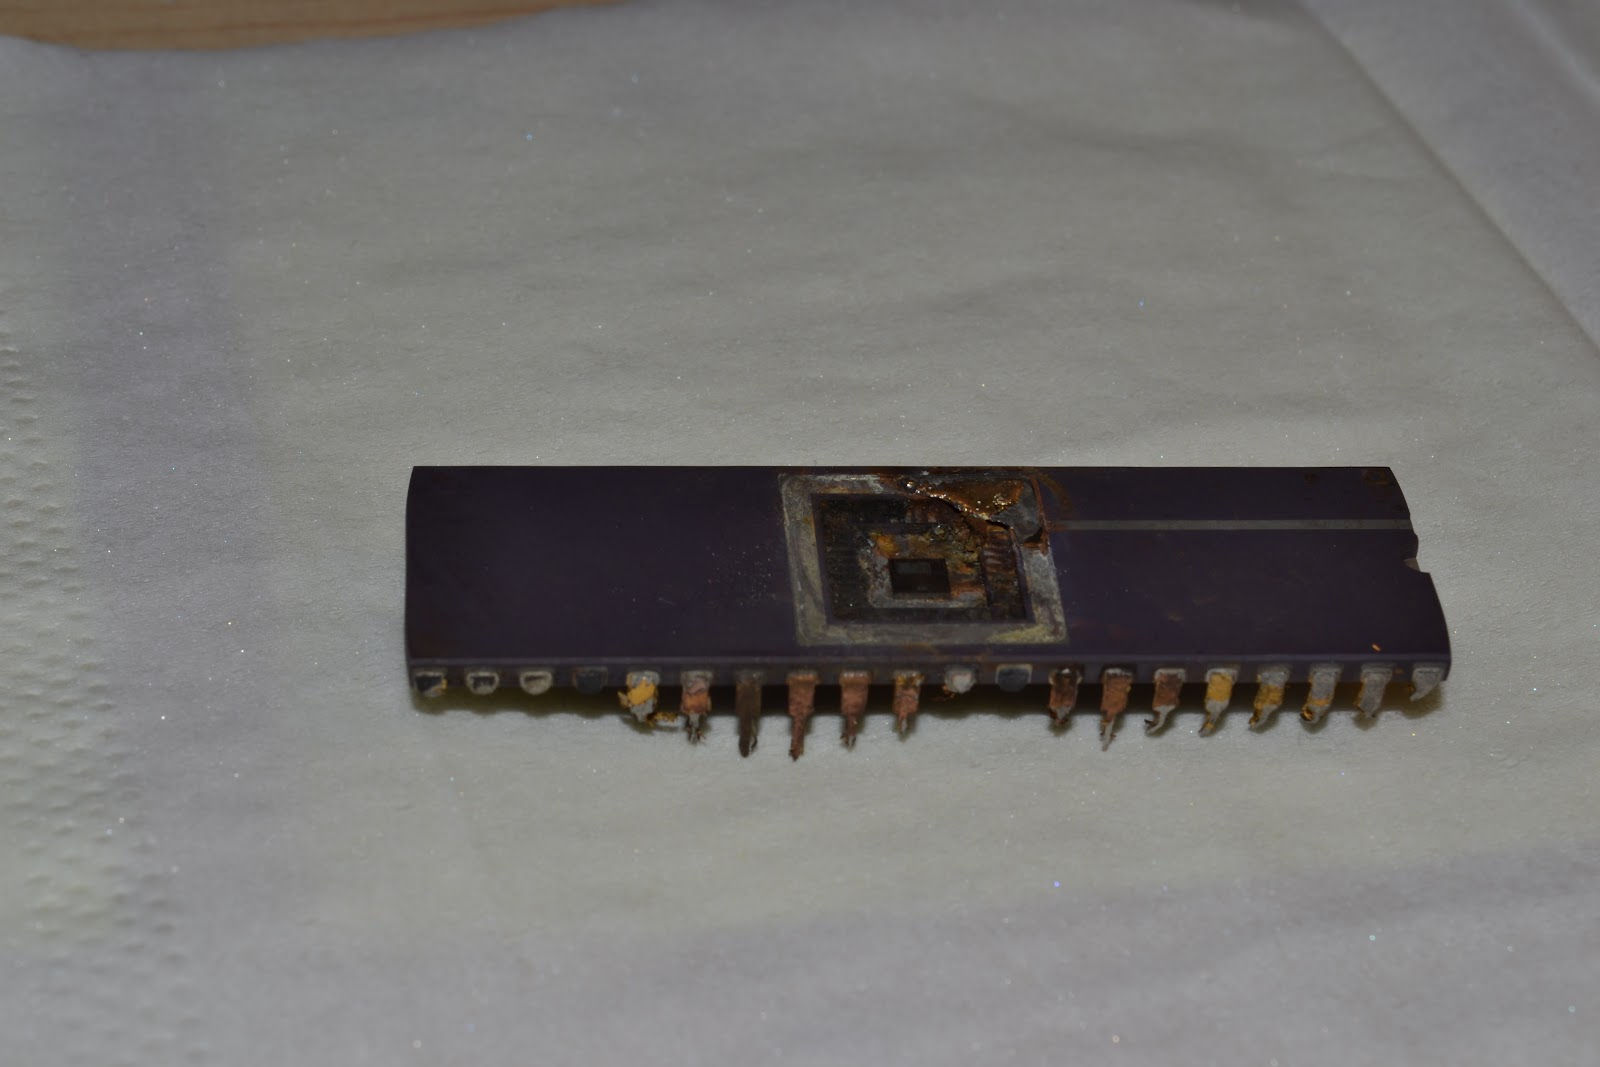
I wish I could get a better picture of the die.
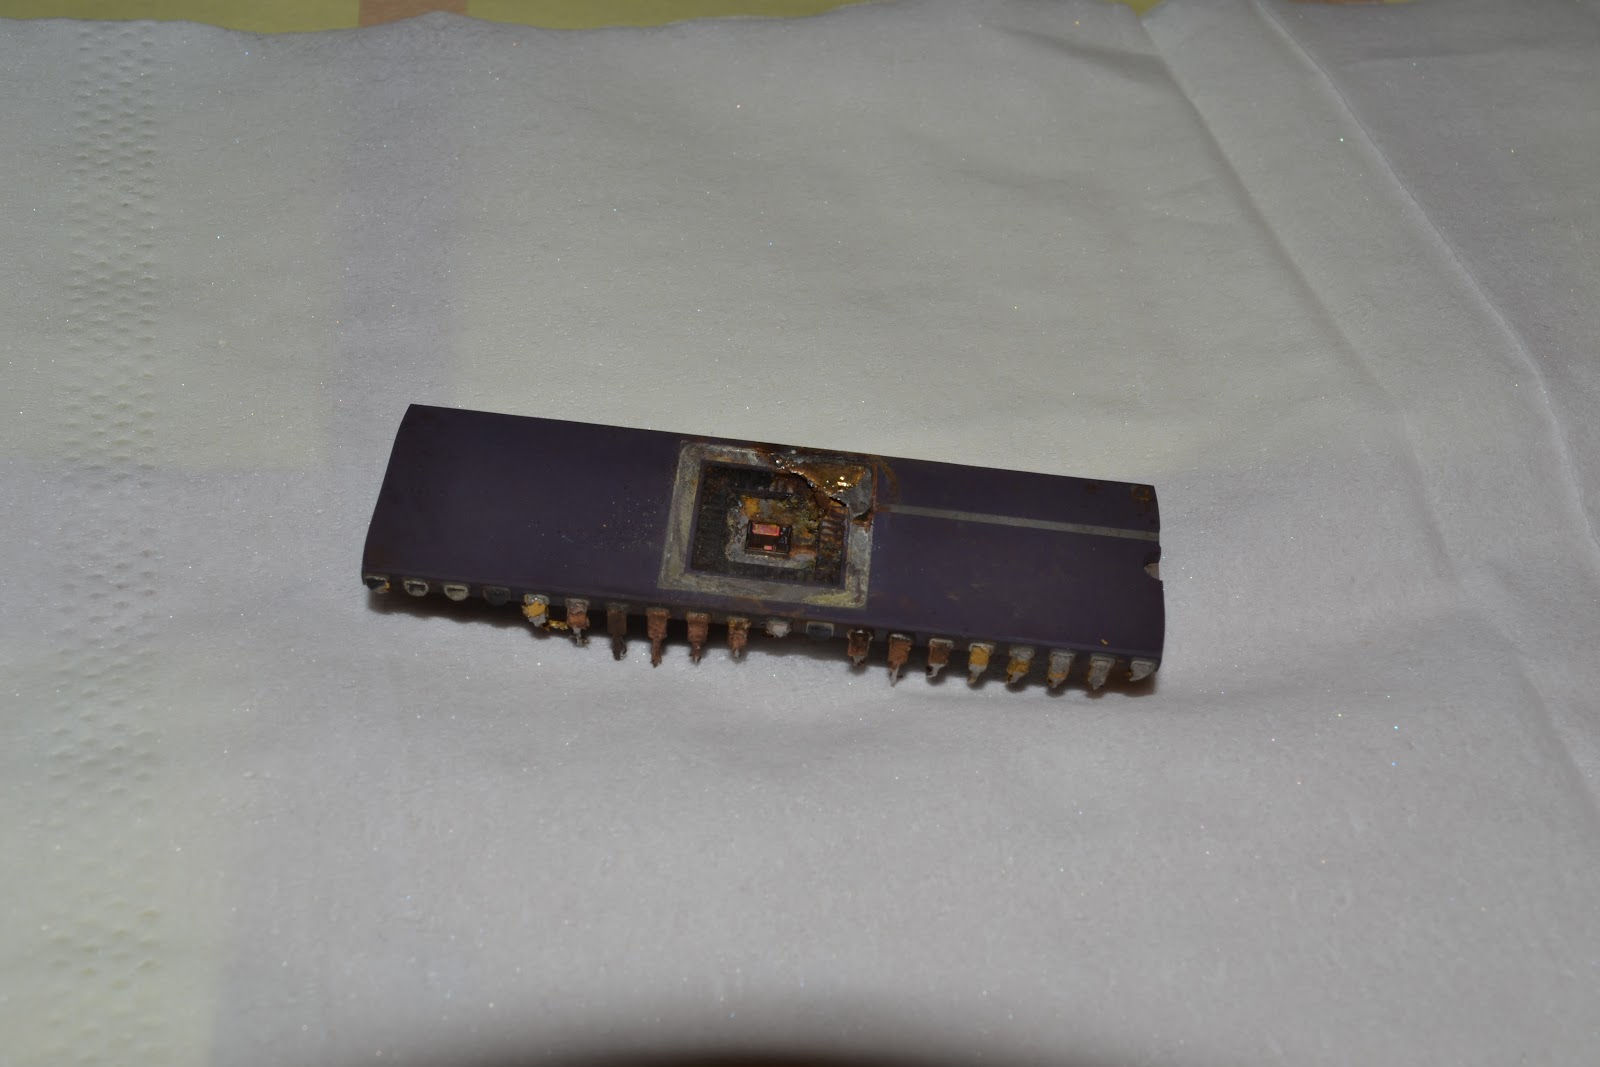
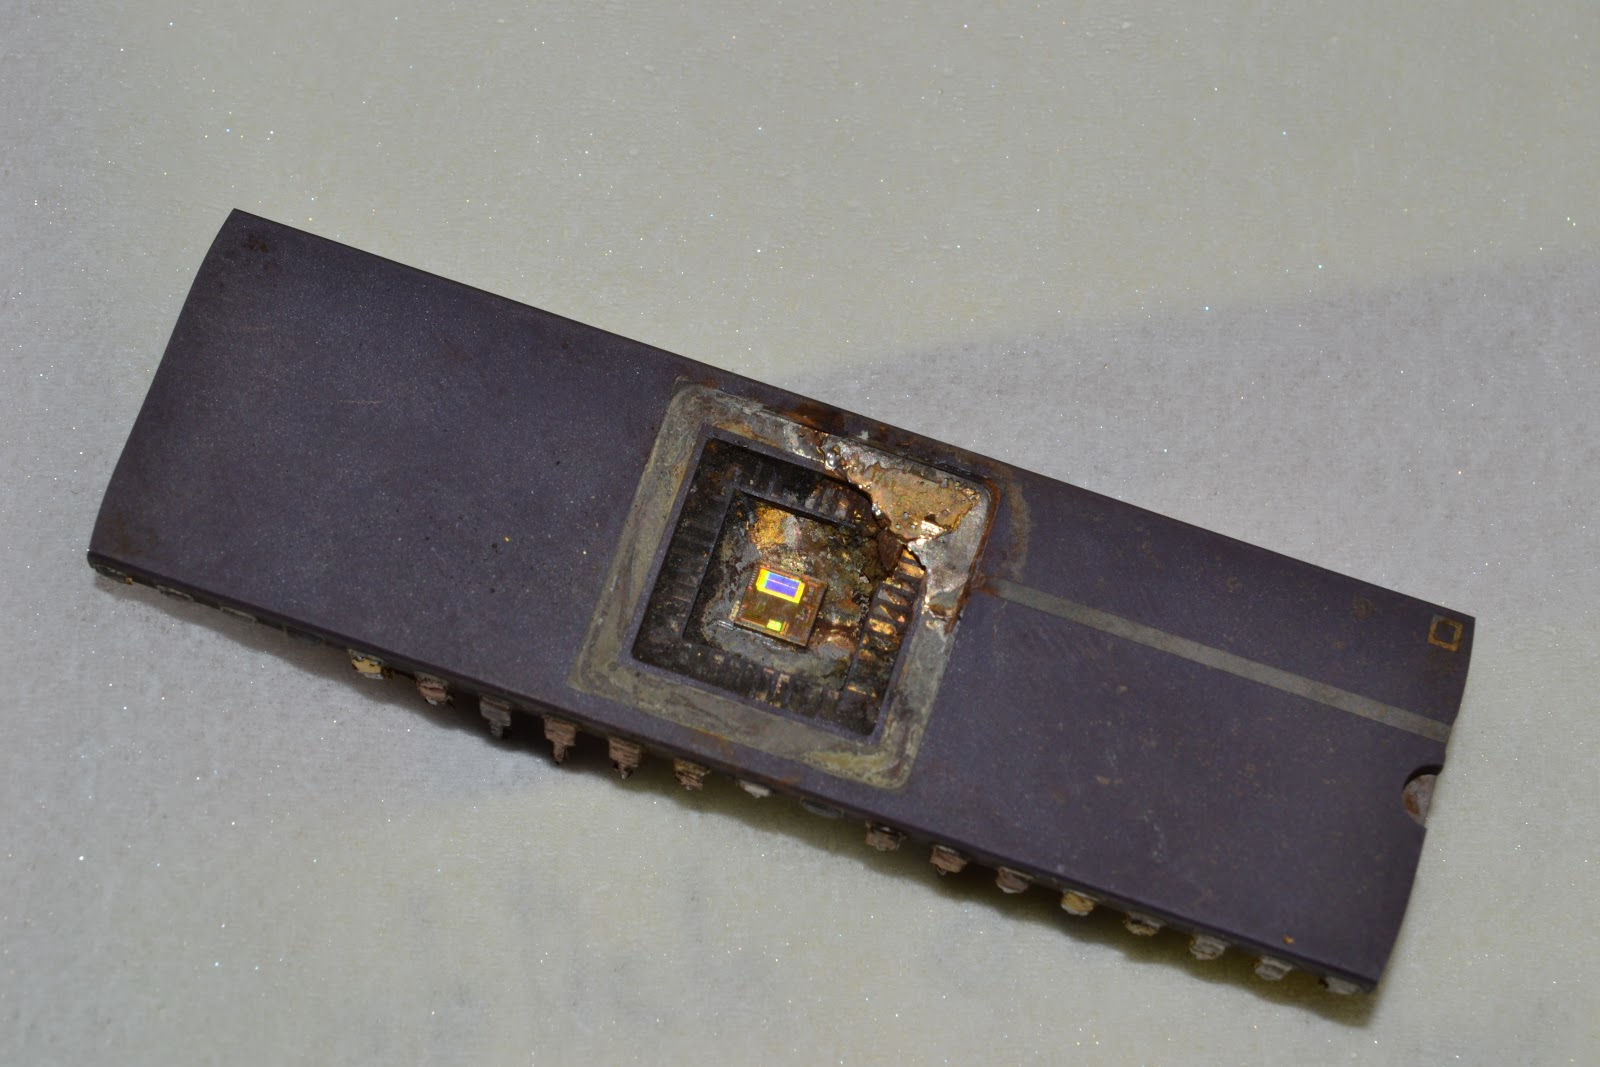
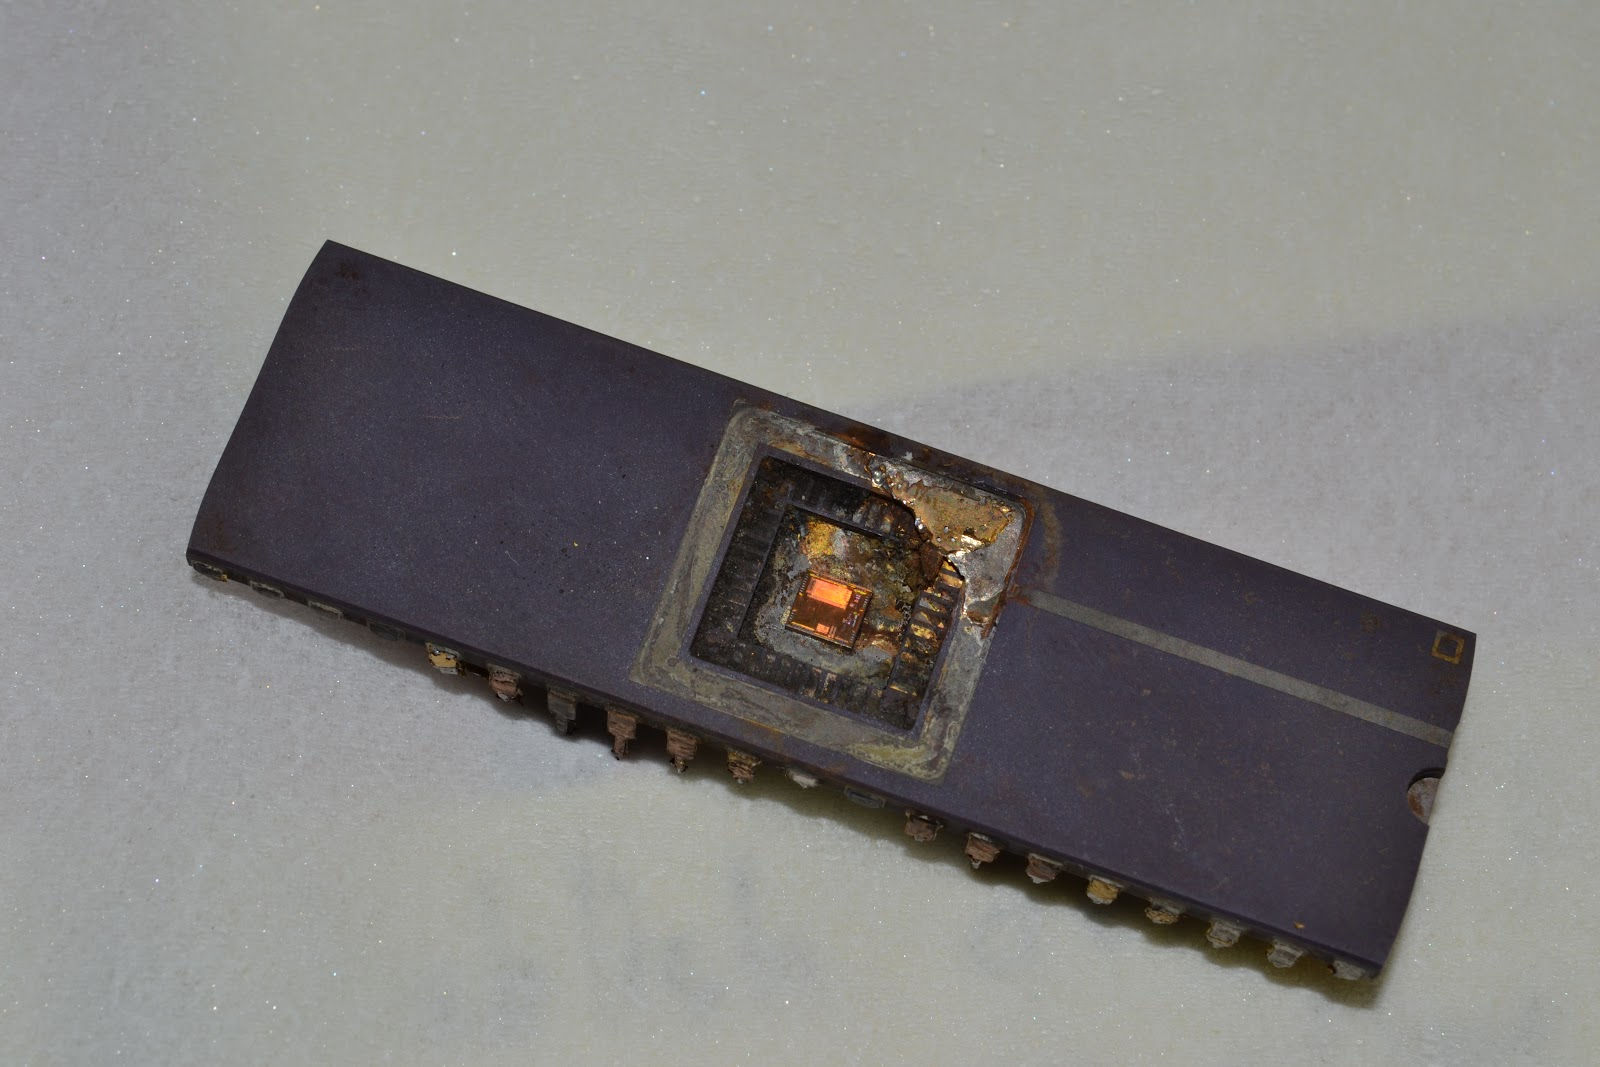
Taking the picture through a magnifying glass didn't help.